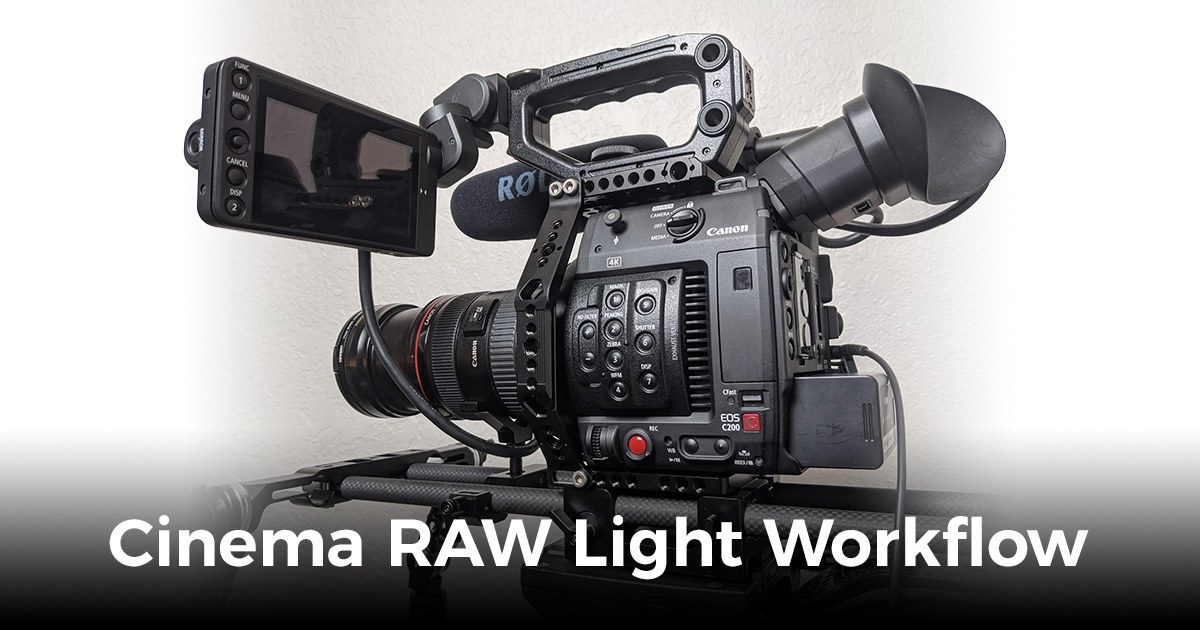
November 10, 2011

A Simple Way to Stop Facebook from Tracking You

Filed under: Anti-Spam,Miscellaneous,Online Marketing — Jack @ 12:36 pm

Thumbs way down for Facebook lack of respect for privacy!

Facebook has been described as the murderer of privacy. I deleted my personal profile months ago (a process which took over two weeks!) and I haven’t looked back since. Good thing, because it was recently discovered that Facebook’s controversial tracking cookies continue to track user behavior even after the user is logged out of Facebook. What other website puts 9 cookies on your machine (that’s how many I counted when I deleted mine)?

All that being said, I still have some business Facebook pages that I use for marketing and branding. It would be asinine for me to quit using these because they help to bring in additional revenue with very little maintenance overhead. So, if you only use Facebook to promote your brands, you probably don’t have too many privacy concerns to worry about.

Obviously, the simplest way to stop Facebook from tracking you is to delete your personal profile and don’t use Facebook as a replacement for a social life, like I did. I know many folks will not be willing to give up their Facebook profiles (I wasn’t at first), but these folks could at least browse a little safer.

To continue using your Facebook personal profile without being tracked, download an additional web browser (Internet Explorer, Firefox, Chrome, Safari, Opera, etc.) and only use that browser for Facebook. That way they cannot track any of your online behaviors because you won’t be using any other sites with that browser. Use your default browser for everything else.

Alternatively, you can add an exception to your browser’s cookie settings to block all cookies from the domain facebook.com.

Maybe if I didn’t read the book 1984 when I was 10 I wouldn’t be so paranoid about privacy. Down with Big Brother!

November 1, 2011

How to change your Gmail, Google Apps or Google Account password

Filed under: Google — Jack @ 11:55 am
Change Google Password

Changing your Google Password is easy!

I needed to walk a client through changing her Google Apps password earlier today. I’m posting it how to do it here for future reference.

Here’s how to change your password for Gmail, Google Apps or your Google Account:

  1. First you need to log in with your username and current password. Gmail users can log in at http://mail.google.com/mail. Apps users can go to their Apps login screen. This is usually located at http://google.com/a/domain.com or mail.domain.com (replace “domain.com” with your domain name). The login screen for Google Accounts is https://accounts.google.com/Login.
  2. Once you are logged in, click on your name (or email address) near the top right of the page and then click “Account Settings” from the menu that opens.
  3. This brings up the user profile screen. Look for the section that says “Personal Settings.” Under personal settings, click “Changing your password.”
  4. This brings up the “Change password” screen. In the first box, enter your current password, then enter the new password into the second and third boxes.
  5. Hit save. That should do it!

If you are logged in, this direct link brings up the change password page: https://accounts.google.com/EditPasswd. However, this link could change at any time so it’s good to know how to get to the change password page without it.

June 28, 2011

Block Known Comment Spammers in WordPress

Filed under: Anti-Spam,Wordpress — Jack @ 11:55 am

A short while back, I did an article on blocking spammers in WordPress. After spending the past three hours going through our network of blogs and blocking the latest wave of spam poo, I have decided to post all of the IPs and stop-words we are blocking. This list can not possibly cover all of the spam nazis across the net, but it can save you some considerable time by eliminating all of the ones that have spammed us.

Just download the file below then select all, copy and paste the list into your WordPress comment blacklist (WP Admin -> Settings -> Discussion -> Comment Blacklist).  Enjoy!

Master-Spam-Block-List

May 20, 2011

Free Fonts are Taking Over!

Filed under: Fonts & Typography — Jack @ 10:20 am

Free fonts are everywhere. It used to be taboo to use free fonts in a commercial design. However, thanks to an increase in the number of font designers and more readily available font-authoring tools, many free fonts now rival the quality of commercial fonts.

Here a few free font resources we found that you may like:

March 10, 2011

Hello Web Fonts! Goodbye Verdana, Georgia, Times New Roman & Trebuchet!

Filed under: Fonts & Typography,Google — Jack @ 11:17 am

Making the transition to web design from print design was a welcomed change for me. Although the web is far more technical, print is much less forgiving. I do still design printed materials, but the days of eating the cost to reprint a job for having a one character typo are long gone.

After switching camps I quickly noticed that I wasn’t able to use all of my pretty (and expensive) fonts on the web pages I created. This is because a site visitor can not see the font you are using unless he has that font installed on his machine. So, for many years all we could do was specify the desired font and then set a few backups, like so (a generic CSS style):

.hope_and_pray_the_user_has_my_desired_font_choice {
  font-family: "Bodoni", "Garamond", Georgia;
}

Referring to the CSS snippet above, if the visitor has the font Bodoni it will be used but if she doesn’t Garamond will be used. If she doesn’t have Garamond either, Georgia will be displayed as a last resort.

The next major breakthrough was sIFR, or Scalable Inman Flash Replacement. This technology allowed a very tech-savvy web developer to implement their font of choice by embedding it in a special Flash file. The chosen font could then be called into a web page to replace the default.

However, sIFR is not a perfect solution namely because it requires the use of Flash and it can be a royal pain in the ass to implement and style correctly. Flash is unsupported by most (if not all) mobile devices so using it for anything mission critical is a very BAD idea. Also, anyone familiar with Flash probably wouldn’t use it as their first choice for doing any kind of type setting. I have implemented sIFR on a few sites and although the result was pleasant, the hassle of doing so was not.

Next, designers discovered they could load fonts into web pages using the @font-face property. I could explain @font-face here, but Tjobbe Andrews of Milton Bayer has done such a nice job already. So check out his explanation of @font-face for a very thorough introduction. Just know that to use @font-face legally, you need a web license for the font.

Well, web designers everywhere now have a reason to rejoice. Google isn’t waiting around for the w3c to solve the font-licensing issues. They went ahead a created a repository of open-source web fonts for everyone to use. Here’s a simple way to use a font from the Google Web Fonts library:

  1. Include the web font as a stylesheet. We are using Buda here, but you can change it to whatever you want:
    <link rel="stylesheet" type="text/css" href="http://fonts.googleapis.com/css?family=Buda">
  2. Use the font in a CSS style. We are using it on the paragraph tag:
    p {
      font-family: 'Buda', serif;
      font-size: 12px;
    }
  3. That’s it! In our example, all paragraph tags will now use Buda! For more info on using Google Web Fonts read Getting Started (Google Fonts API).

Now there’s no excuse to keep kicking it old school. Most of the major font foundries are getting with the program. They are now making web versions of their fonts and usually include them free of charge when you purchase the standard font license. And many thanks to Google for extending our font repertoire!

Hopefully, we won’t see the likes of Verdana, Georgia, Times New Roman, Arial or Trebuchet until designers decades from now are looking to exhibit a retro feel in their work. I would have included Helvetica, but I don’t think designers will be dropping that one anytime soon.

March 9, 2011

Block Annoying Spammers from Commenting on Your WordPress Site

Filed under: Anti-Spam,Wordpress — Jack @ 9:55 am

Spammers are some of the worst scum in cyberspace. I’m not even sure they are human. It’s almost as if spammers are the mutant offspring of the direct mail marketers that keep piling up our landfills with crap no one even wants to see.

However, they can be stopped. You just have to be diligent in your efforts. Most spammers tend to lurk in the same murky corners, using pay-per-use internet hotspots or anonymous proxy servers to fling their slime. As you block each one, the spammers will eventually run out of outlets and will move on to easier blogs to prey on.

In WordPress, navigate to Settings -> Discussion and scroll down the page to the area labeled “Comment Blacklist.” In this box you will enter any words or IP addresses that you want to blacklist (or block) from commenting. Be careful what words you enter as it also matches inside words. For example, if you entered “net” as a blacklisted term, comments containing “internet,” “network,” and “netting” would all be blocked.

To build your list of IPs to block, go to Comments in WordPress. Now create a new document in your favorite text editor. Copy and paste all of the IP addresses that are associated with spam comments into your new document (one IP per line). When you have copied over the IPs for each spam comment, copy and paste all of them to the Comment Blacklist box under Settings -> Discussion and hit the Save Changes button.

Save the text file and continue to add new IPs to it as more spam is posted. Use the file as your master blacklist. The great thing is that you only have to make this list once and then you can use it on each of your WordPress blogs.

Good luck in your battle against the bastards of spam. This won’t keep them off your site, but at least it’ll stop them from commenting. For God and Country!

February 22, 2011

Design for a Better Tomorrow

Filed under: Inspiration,Website Design — Tags: — Jack @ 6:22 pm

Design something. Do it today. It doesn’t have to be revolutionary. Just create something that makes the world more functional or accessible in some way.

Design is everywhere. When you use silverware, you can taste the design that went into making it. Design can also be heard in beautiful music. From traffic patterns to light switches to gloves, design plays a role in almost every aspect of our daily lives.

However, design isn’t about inventing something new, it’s about improving and putting your own spin on something old.

Design benefits all, including the designer. Arise and design!

FishingInTheGulf.com, A New Resource for Gulf Shore Anglers and Fisherman

Filed under: Business,Web Development,Website Design — Jack @ 5:45 pm

We are happy to announce the launch of FishingInTheGulf.com, a new online resource for gulf shore anglers and fisherman. Please visit them if you are a gulf fishing enthusiast or just to see some of our latest work.

January 14, 2011

Blog to Email Subscriptions using CMS Made Simple and Feedburner

Filed under: Tutorial,Web Development — Jack @ 4:15 pm

CMSMS Blog ---> FeedBurner ---> Email

Have you ever needed a way for visitors to subscribe to blog updates and be notified via email?

Subscribing to an RSS feed is great for people that use RSS readers. However, mostly everyone is already accustomed to using email. Why not save your end-users some trouble and put your posts directly in their inbox?

In this step-by-step tutorial, we’ll be covering how to set up a powerful and free email subscription solution for your blog using CMS Made Simple and FeedBurner.

We’ll be using the latest version of CMS Made Simple (ver. 1.9.2) with its built-in News module for our blog. The CMS Made Simple modules CGFeedmaker and CGExtensions create the feed. Feedburner handles the email subscriptions.

CMS Made Simple is a well-rounded, open-source CMS platform with an active community and many available modules that expand its core functionality. It’s definitely worth a look for your next content-managed project.

STEP-BY-STEP

  1. Create a Google account if you do not already have one. Google owns FeedBurner, so you have to use a Google account to access its features. You can sign up for one here.
  2. Log into your CMS Made Simple admin panel.
  3. Install CGExtensions and CGFeedmaker.
    1. Go to Extensions -> Modules from within the CMS Made Simple admin panel.
    2. CGExtensions needs to be installed first. Click the “Available Modules” tab and then click the “C” link to view modules starting with the letter C. Scroll down to CGExtensions and click the “Download and Install” link.
    3. After it installs go back and repeat the process for CGFeedmaker.
  4. Activate Pretty URLs in CMS Made Simple.
    1. Open a text editor, create a new document and paste in the code below (this code is taken straight from the sample htaccess.txt file provided with CMSMS 1.9.2):
      # Attempt to override some php settings, these settings may be helpful on some hosts if your
      # default configuration does not meet CMS's minimum requirements, and your host
      # has given your account appropriate permissions
      #php_value upload_max_filesize "10M"
      #php_value session_save_path "tmp/cache"
      
      #php_flag magic_quotes_gpc Off
      #php_flag register_globals Off
      #php_flag session.use_trans_sid Off
      
      # (this is important, so uncomment if your host permit)
      #Options -Indexes
      #ServerSignature Off
      
      #Options +FollowSymLinks
      
      # To prevend E_STRICT problems with PHP 5.3+ you can uncomment the following lines
      # Note: These settings should only be enabled for production sites!
      #php_flag display_startup_errors 0
      #php_flag display_errors 0
      #php_flag html_errors 0
      #php_value docref_root 0
      #php_value docref_ext 0
      
      RewriteEngine on
      #
      #Sub-dir e.g: /cmsms
      RewriteBase /
      
      # 301 Redirect all requests that don't contain a dot or trailing slash to
      # include a trailing slash
      # but ignore POST requests.
      #RewriteCond %{REQUEST_URI} !/$
      #RewriteCond %{REQUEST_URI} !\.
      #RewriteCond %{REQUEST_METHOD} !POST$
      #RewriteRule ^(.*) %{REQUEST_URI}/ [R=301,L]
      
      # Rewrites urls in the form of /parent/child/
      # but only rewrites if the requested URL is not a file or directory
      #
      RewriteCond %{REQUEST_FILENAME} !-f
      RewriteCond %{REQUEST_FILENAME} !-d
      RewriteRule ^(.+)$ index.php?page=$1 [QSA]
    2. Save the file as htaccess.html. Upload it to your CMSMS root folder and rename the file to .htaccess (no extension, just “.htaccess”).
    3. Edit your CMSMS config.php file to have these settings starting at line 129:
      #------------
      #URL Settings
      #------------
      
      #What type of URL rewriting should we be using for pretty URLs?  Valid options are:
      #'none', 'internal', and 'mod_rewrite'.  'internal' will not work with IIS some CGI
      #configurations. 'mod_rewrite' requires proper apache configuration, a valid
      #.htaccess file and most likely {metadata} in your page templates.  For more
      #information, see:
      #http://wiki.cmsmadesimple.org/index.php/FAQ/Installation/Pretty_URLs#Pretty_URL.27s
      $config['url_rewriting'] = 'mod_rewrite';
      
      #Extension to use if you're using mod_rewrite for pretty URLs.
      $config['page_extension'] = '.html';
      
      #If using none of the above options, what should we be using for the query string
      #variable?  (ex. http://www.mysite.com/index.php?page=somecontent)
      $config['query_var'] = 'page';
      
    4. Save your changes to config.php and re-upload. Pretty URLs should now be functioning as expected.
  5. Create the feed.
    1. Go to Extensions -> Calguy’s Feed Maker. There are sample feeds provided by the module developer (calguy1000). Click on the sample feed named “news” to edit it.
    2. The “Feed Name” field should remain the same and leave the “Feed Extension” field blank (this uses the default extension, RSS).
    3. In the “Use this page for links” field select the CMS Made Simple page that your blog is on.
    4. Change the “Feed Title” to something appropriate for the subject matter of your blog.
    5. Edit the “Feed Link” to be the URL to your blog (the http:// location of your blog).
    6. Enter a phrase or sentence that sums up your blog in the “Feed Description” field.
    7. Optionally, you may enter a copyright notice in “Feed Copyright” and add your email address to the “Feed Editor” field.
    8. Enter 30 into the “Time to Live” field.
    9. Click Submit to save your changes.
  6. Copy and paste the following snippet into the head section of the CMSMS template your blog is using:
    {CGFeedMaker action='autodiscovery' feed='news'}
    
  7. Tell TinyMCE to use numeric encoding of entities. In CMSMS, go to Extensions -> TinyMCE WYSIWYG. Under the Advanced tab we need to select Numeric encoding in the “Encoding of Entities” dropdown box. We need to do this because named entities prevent RSS feeds from validating. For more info read Named versus Numeric Entities.
  8. Validate your RSS feed. Go to http://validator.w3.org/feed/ and enter the location of your feed (e.g. http://domain.com/feeds/news.rss). Click “Check” to check your feed for errors. Resolve any errors until your feed validates.
  9. Now that it validates its time to bring the feed into Feedburner. Go to http://feedburner.google.com/ and log in with your Google account.
    1. In the area that says “Burn a feed right this instant,” enter the location of your feed (e.g. http://domain.com/feeds/news.rss) and click next.
    2. This page shows the feed title that was created on Step 5D. Feedburner automatically creates a feed address on its domain for you which you can edit or leave as is. Click next.
    3. This page shows that your feed is now claimed in Feedburner. Click next.
    4. This page gives options for tracking statistics with Feedburner. These are optional so check any of the boxes you may want and click next. You will be taken to a page that tells you the feed is set up in Feedburner.
  10. We can now set up the Email Subscriptions.
    1. Click the Publicize tab. Under Services (in the left column of the page), click Email Subscriptions.
    2. Click Activate.
    3. If your audience uses a different primary language other than English, select it in the Language dropdown.
    4. Copy the code supplied by Feedburner. This code is for the subscription form the visitors will use to get email updates for your blog posts.
    5. Paste the code into your blog template in CMSMS. You may also add it to other templates. If you want them to be able to subscribe to blog updates from any page, put it in all of your templates.
    6. Optional: Change the wording and restyle the form with CSS (highly recommended).

In closing, you may want to adjust a couple of other settings to get the most out of Feedburner’s email subscriptions.

  1. Add a company logo to the emails sent by Feedburner.
    1. Upload a logo to a web location you control and make note of the URL.
    2. In Feedburner, go to Publicize -> Email Subscriptions -> Email Branding.
    3. Put the URL to your logo in the Logo URL field, scroll down and click Save.
  2. Choose the time you prefer to have the emails delivered.
    1. In Feedburner, go to Publicize -> Email Subscriptions -> Delivery Options.
    2. Select your Timezone and Scheduled Email Delivery time. Click save.

Congratulations! You now have a fully functioning blog to email subscription solution powered by CMS Made Simple and Feedburner. Enjoy!

August 2, 2010

So You Want to Make Money Online?

These days, many people are making money online. There are a lot more who aren’t.  How can you be sure that your online marketing efforts are a success so that you don’t end up wasting a lot of time and energy?  We’re here to walk you through it.

How It’s Done

To make money online, the sites you are promoting need visitors.  To get visitors to your site, you have to offer them something that other sites do not have.  It doesn’t matter what that is, it just has to be unique.  It can be as simple as some text that you wrote yourself or a product that only you sell.

Keep Reading…

« Older Posts