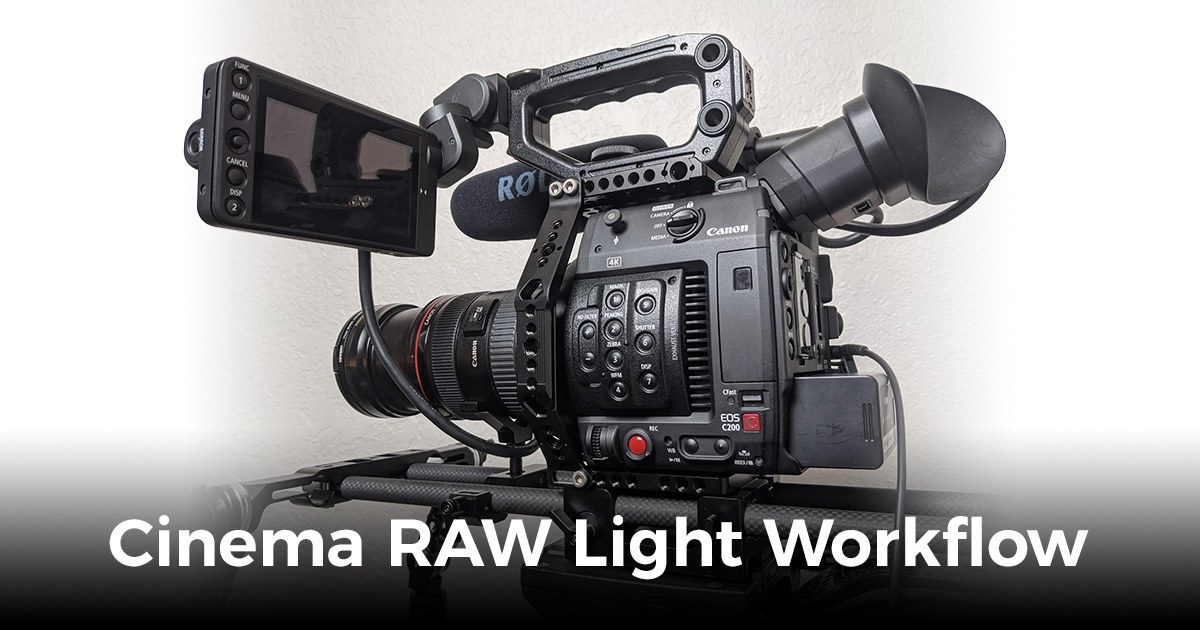
Here’s a Cinema RAW Light workflow I discovered over the weekend. This approach uses Davinci Resolve but you could use a similar process in other NLEs. In terms of practicality and for our needs, this is superior to using the Canon CRD software.
I shot about an hour of RAW footage for a client last week. Even though our main editing workstation is very powerful, it chokes on RAW clips when editing natively in an NLE once you start keyframing and adding effects. So, I needed to widdle them down to something more manageable that can be edited without hiccups. Also, I think it defeats the purpose of shooting in RAW if you are going to transcode before adjusting RAW settings.
Here’s the approach I came up with:
- Open RAW clip in Davinci Resolve
- Trim clip to only the good stuff. This will need to be done at some point during the project, so you might as well do it now. Trim off everything that won’t be usable in your final edit. Feel free to leave handles if you aren’t sure of the best place to cut. This will save a lot of time because it makes no sense to render/transcode extra footage that will never be used.
- Adjust RAW settings
- Adjust exposure (if needed)
- Remove noise (if present)
- Stabilize (if needed)
- Crop (if desired)
- Render clip to DNxHR HQX 10-bit (or other format if preferred for your situation). The settings I used are: Format: Quicktime, Codec: DNxHR, Type: DNxHR HQX 10-bit. The new file will be rendered with the adjusted RAW settings baked-in, and it will be far less likely to cause frame-stutter in an NLE when editing and adding effects.
- Repeat steps 1-8 for each RAW clip you have.
Now, instead of sending my editing partner a bunch of unadjusted RAW clips (doing so would not spark joy), I can now send her manageable .MOV files that have already been pre-trimmed, are exposed properly, and are ready to drop on the timeline and color grade.
Optionally, you can delete the RAW files afterwards since you already have the good stuff rendered at the size and format you need it to be in. I’ll still keep the RAW clips until the project has been delivered, but I will certainly be deleting them and only storing the 4:2:2 clips after final approval.
I hope this is helpful for fellow Canon shooters. Some of you may already be doing it this way, but it’s new to me. This workflow is easy and takes all the pressure out of shooting RAW for me. And since we spend the bulk of our project time in the editing room, this will save a ton of time on each of our projects going forward without having to sacrifice RAW capabilities.


